Webhooks
This guide provides you with the necessary steps to integrate a webhook for a Plugin. The guide includes how to create a new webhook, a sample code snippet for an Express.js server to receive the webhook payload, verify the webhook payload using a secret, and handle specific event types.
1. Creating a New Webhook
To create a new webhook, follow these steps:
- Go to the Dev Portal
- Navigate to Plugin you want to add webhook to
- Navigate to "Webhooks"
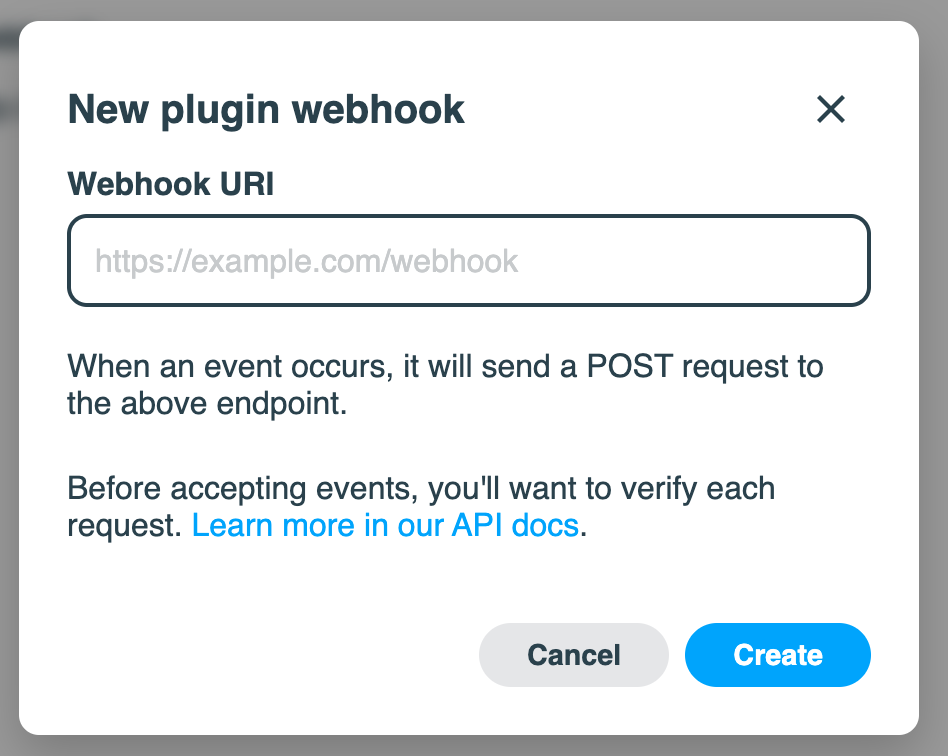
- Select "Add webhook" and configure: Enter the URL where you want to receive the webhook payloads in the "Webhook URI" field.
- Verify Requests: Ensure that you verify each request to prevent unauthorized access.
Here is a screenshot of the webhook setup page:

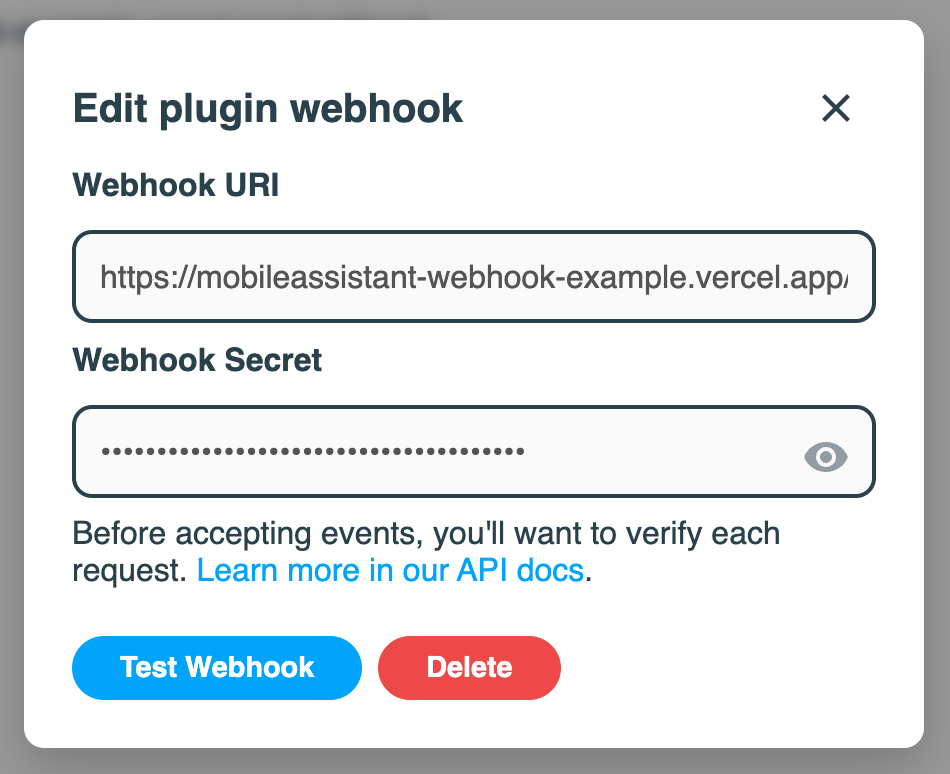
After you create the webhook, you will receive a webhook secret. You will also be able to test the webhook to ensure it is working correctly. To open this modal, click on the webhook you created from the list.

If your test is successful, you will see a message saying "Webhook triggered successfully!". Check your server logs to ensure the webhook payload was received.
2. Sample Code for an Express.js Server
Below is a simple example of an Express.js server that receives the webhook payload. This server will listen for POST requests at the specified endpoint, log the payload, verify the payload using a secret, and handle specific event types.
Check out the full example code on GitHub for more details, and a one-click deployment example.
require("dotenv").config();

const express = require("express");
const bodyParser = require("body-parser");
const crypto = require("crypto");
const app = express();

const PORT = process.env.PORT || 3221;
const WEBHOOK_SECRET = process.env.WEBHOOK_SECRET;

function verifyAndParsePayload(req) {
  const signature = req.headers["x-connect-it-token"];
  const payload = req.body;
  const hash = crypto
    .createHmac("sha256", WEBHOOK_SECRET)
    .update(payload)
    .digest("hex");

  if (signature !== hash) {
    console.log("Invalid signature", "hash", hash, "signature", signature);
    const error = new Error("Invalid signature");
    error.statusCode = 400;
    throw error;
  }

  return JSON.parse(payload.toString("utf8"));
}

app.post("/webhook", bodyParser.raw({ type: "application/json" }), (req, res) => {
    try {
      const verifiedPayload = verifyAndParsePayload(req);
      const eventType = verifiedPayload.type;

      switch (eventType) {
        case "test.completed":
          console.log("Received test.completed event:", verifiedPayload);
          break;
        case "transcript.completed":
          console.log("Received transcript.completed event:", verifiedPayload);
          break;
        default:
          console.log("Received unknown event type:", eventType);
          break;
      }

      res.status(200).send();
    } catch (error) {
      res.status(error.statusCode || 400).json({ error: error.message });
    }
  }
);

app.listen(PORT, () => {
  console.log(`Server is running on http://localhost:${PORT}`);
});

module.exports = app;
3. Verifying the Webhook Payload
To ensure the security of the webhook, it is crucial to verify the payload using a secret. The example above includes a verification step within the endpoint that compares the signature sent in the request headers with the hash of the payload generated using the webhook secret.
- Set the Webhook Secret: Define your webhook secret in the
WEBHOOK_SECRETvariable. - Verify the Signature: The code calculates the HMAC SHA256 hash of the request body using the secret and compares it with the signature provided in the request header
x-connect-it-token.
4. Handling Event Types
The code also includes logic to handle specific event types. In this case, it checks if the event type is transcript.completed and handles it accordingly. If the event type is invalid, it responds with an error.
By following this guide, you can can securely integrate webhooks with your Plugin, allowing for real-time event handling and processing.